This guide shows how to install ESXi on a physical server step by step, from creating the bootable installer to the first login. For example, each screen is shown in the order you will meet it, so you can follow along in a home lab. In addition, every step below was validated on real home lab hardware.
dns LAB TOPOLOGY & PREREQUISITES
# config used while writing and testing this guide
TARGET NODE SPECS
NETWORK ASSIGNMENTS
INSTALLER DESIGN
00constructionBefore You Install ESXi: Hardware Requirements
VMware ESXi is a bare-metal hypervisor you install directly on a server (or a home lab PC) to run many virtual machines on one physical machine. Because it is the foundation of most vSphere home labs and data centers, the hardware check comes first. So, verify these four items before you start:
- A 64-bit x86 CPU with at least 2 cores, with Intel VT-x or AMD-V enabled in the BIOS/UEFI
- At least 8 GB RAM for current ESXi versions (ESXi 6.x can run with 4 GB, but more RAM means more VMs)
- A supported network card and at least one disk for the ESXi installation
- A bootable USB flash drive for installation media
ESXi is picky about network and storage controllers. Therefore, check the VMware Compatibility Guide before buying hardware for a home lab.
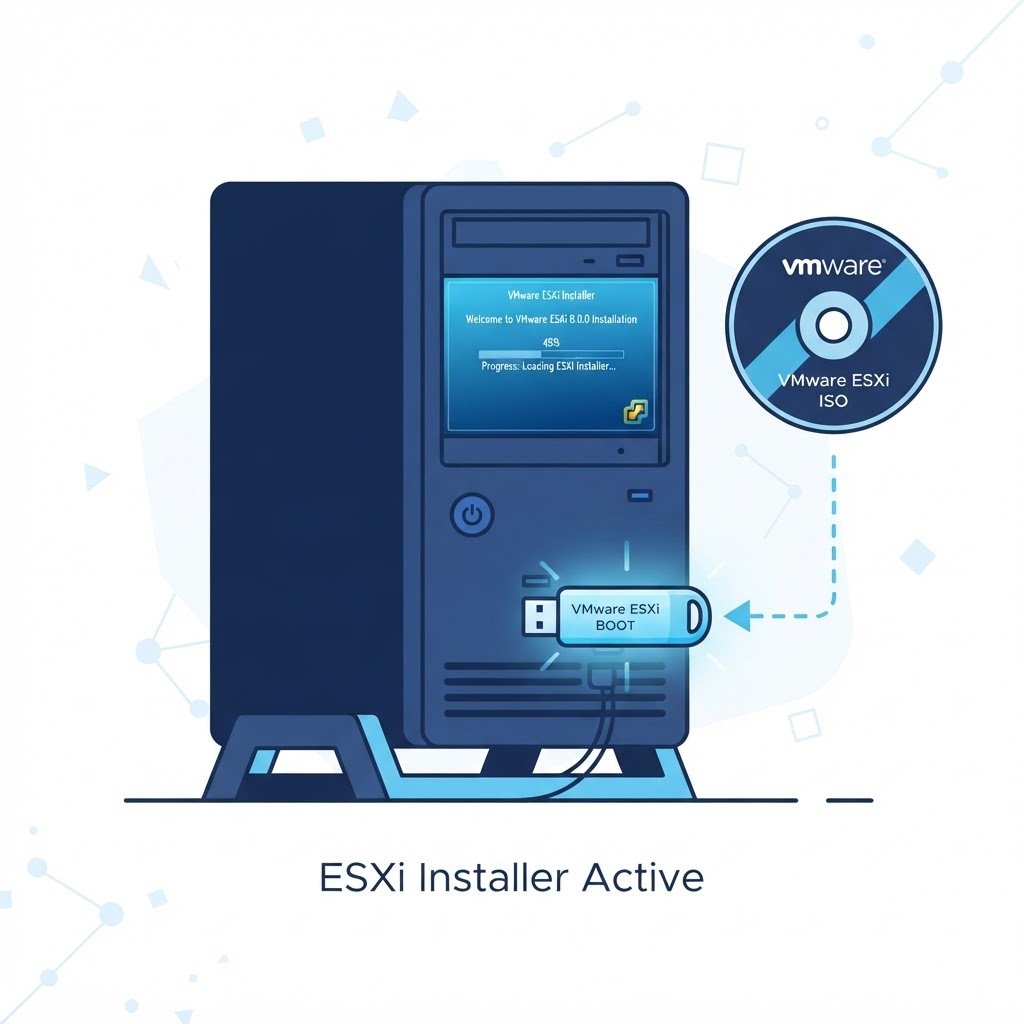
01downloadDownload the ESXi Install ISO
First, create a free account on VMware’s website and download the ESXi ISO image for the version you want (for example ESXi 8.0). In addition, the download includes a 60-day evaluation license, which unlocks all features while you learn. However, keep the ISO file safe, because re-downloading later is slow.
02usbCreate the Bootable ESXi Install Media
Then, write the ISO to a USB flash drive with a tool such as Rufus (Windows) or balenaEtcher (Windows, macOS, Linux). After that, insert the USB stick into the target server, because you install ESXi from this media on the next boot.
03terminalRun the Installer and Install ESXi
- Boot the server from the USB drive and wait for the ESXi boot loader.
- Press Enter to start the installer, then accept the EULA and press F11 to continue.
- Select the disk where ESXi will be installed.
- Choose the keyboard layout and set a root password; use something strong, because this is the main ESXi admin account.
- Confirm the summary with F11 to begin the installation. A few minutes later, remove the USB drive and reboot.
04settings_ethernetFirst Configuration with the DCUI
Once the reboot finishes, the Direct Console User Interface (DCUI) appears on the server’s screen. The settings here complete the install: ESXi is on disk, yet it still needs management networking. Press F2, log in as root, and then open Configure Management Network to set a static IP address, subnet mask, gateway and DNS for the host. Finally, check the DNS configuration and hostname.
# example management settings for a home lab host
IPv4 Address ... 192.168.1.50
Subnet Mask .... 255.255.255.0
Default Gateway  192.168.1.1
DNS Servers .... 192.168.1.10, 1.1.1.1
Hostname ....... esxi-node-01.huda.lab
# after you install ESXi, restart the management network
Management network restarted OK.
05languageVerify the Install: Access the ESXi Host
Finally, from any machine on the same network, browse to https://<your-esxi-ip> and log in with root. This login screen confirms that the effort to install ESXi worked end to end. The embedded ESXi Host Client then lets you create datastores, manage networking and start creating VMs. Also, when the 60-day evaluation license expires, you can assign a free ESXi license key from VMware’s website.
Watch the Full ESXi Installation
Because some steps are easier to copy from video, the complete installation is demonstrated below in one take. Also, the chapters jump straight to each stage of the lab.
How to Connect to ESXi Server from a Client Machine
Now that the host is up, reach it from your workstation and manage VMs remotely. Then you are ready for the vCenter track.
Related Labs
- How to Connect to ESXi Server from a Client Machine
- How to Install vCenter Server Appliance at Home
- How to Create Virtual Machines in ESXi Server
- How to Create a Virtual NAS Device
Once ESXi is running, the natural next step is creating your first guest. For example, the VM guide reuses the same host you just built, and the data center hub tracks your progress through the remaining phases.